Usage
Preparations
Before using the application, user has to acquire an Offce 365 license that contains OneDrive application and then make some configuration adjustments.
Acquiring Office 365 license
This could be done on office.com.
Configuring Office 365
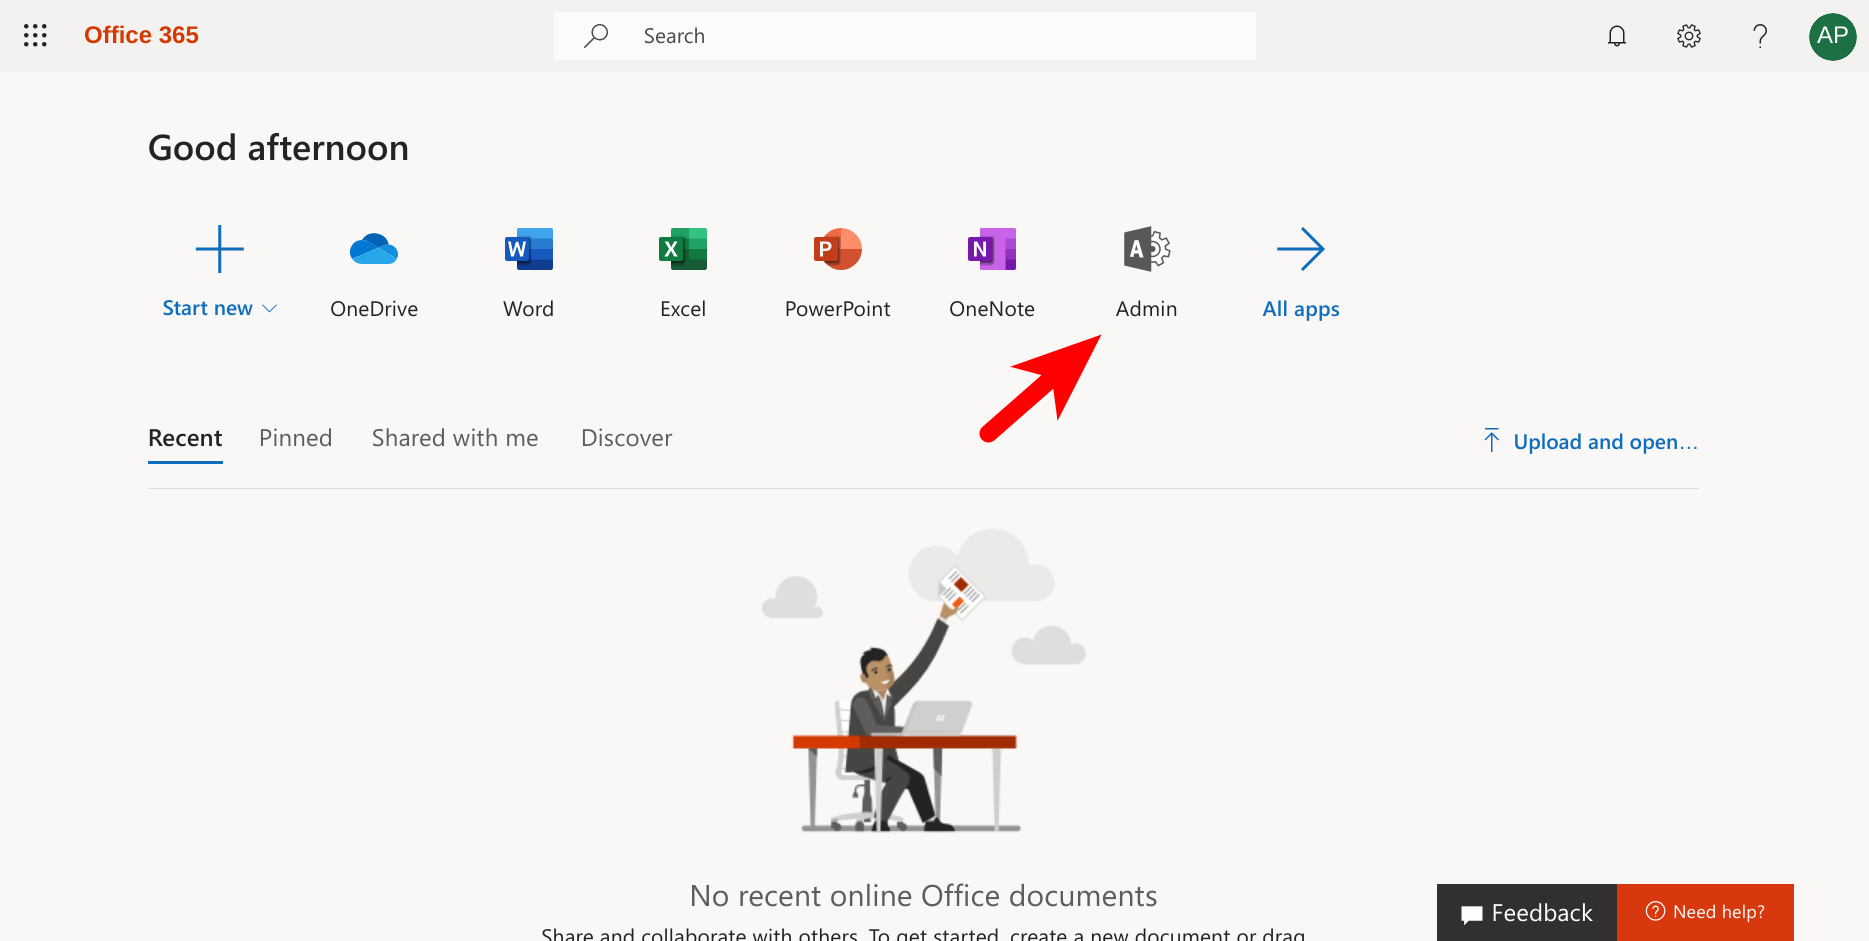
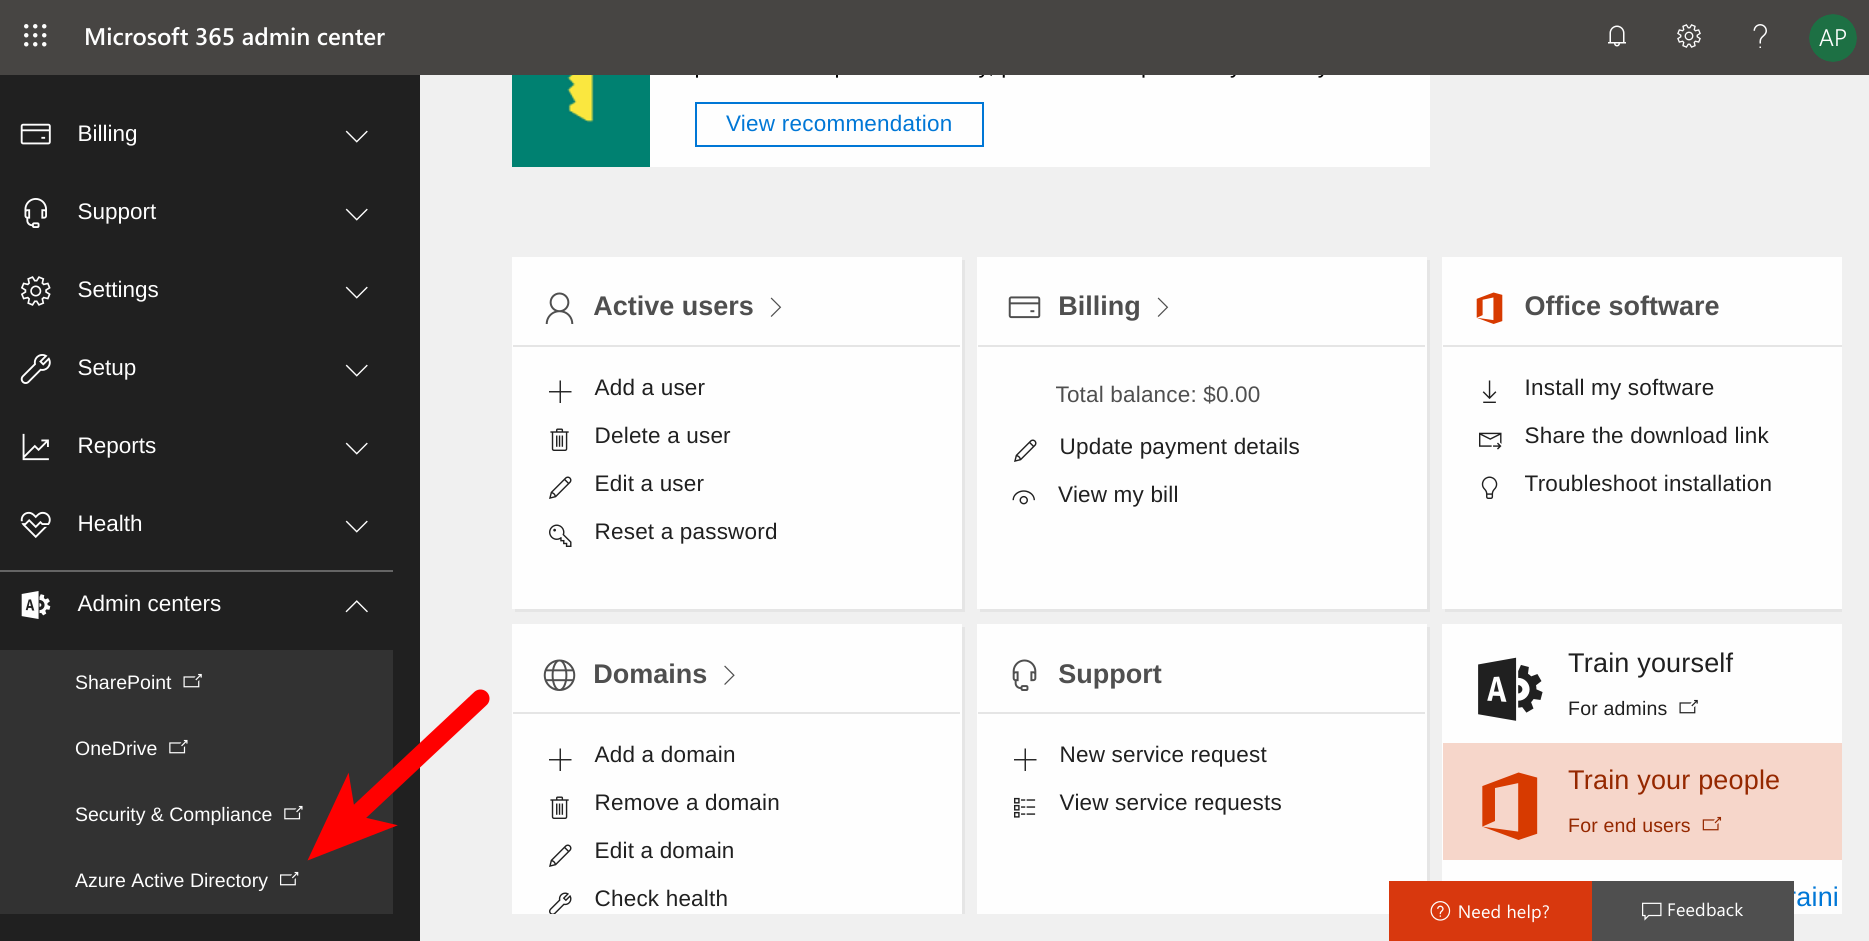
After you acquired the license and entered your account, you should see the home page. Click on the “Admin” button.
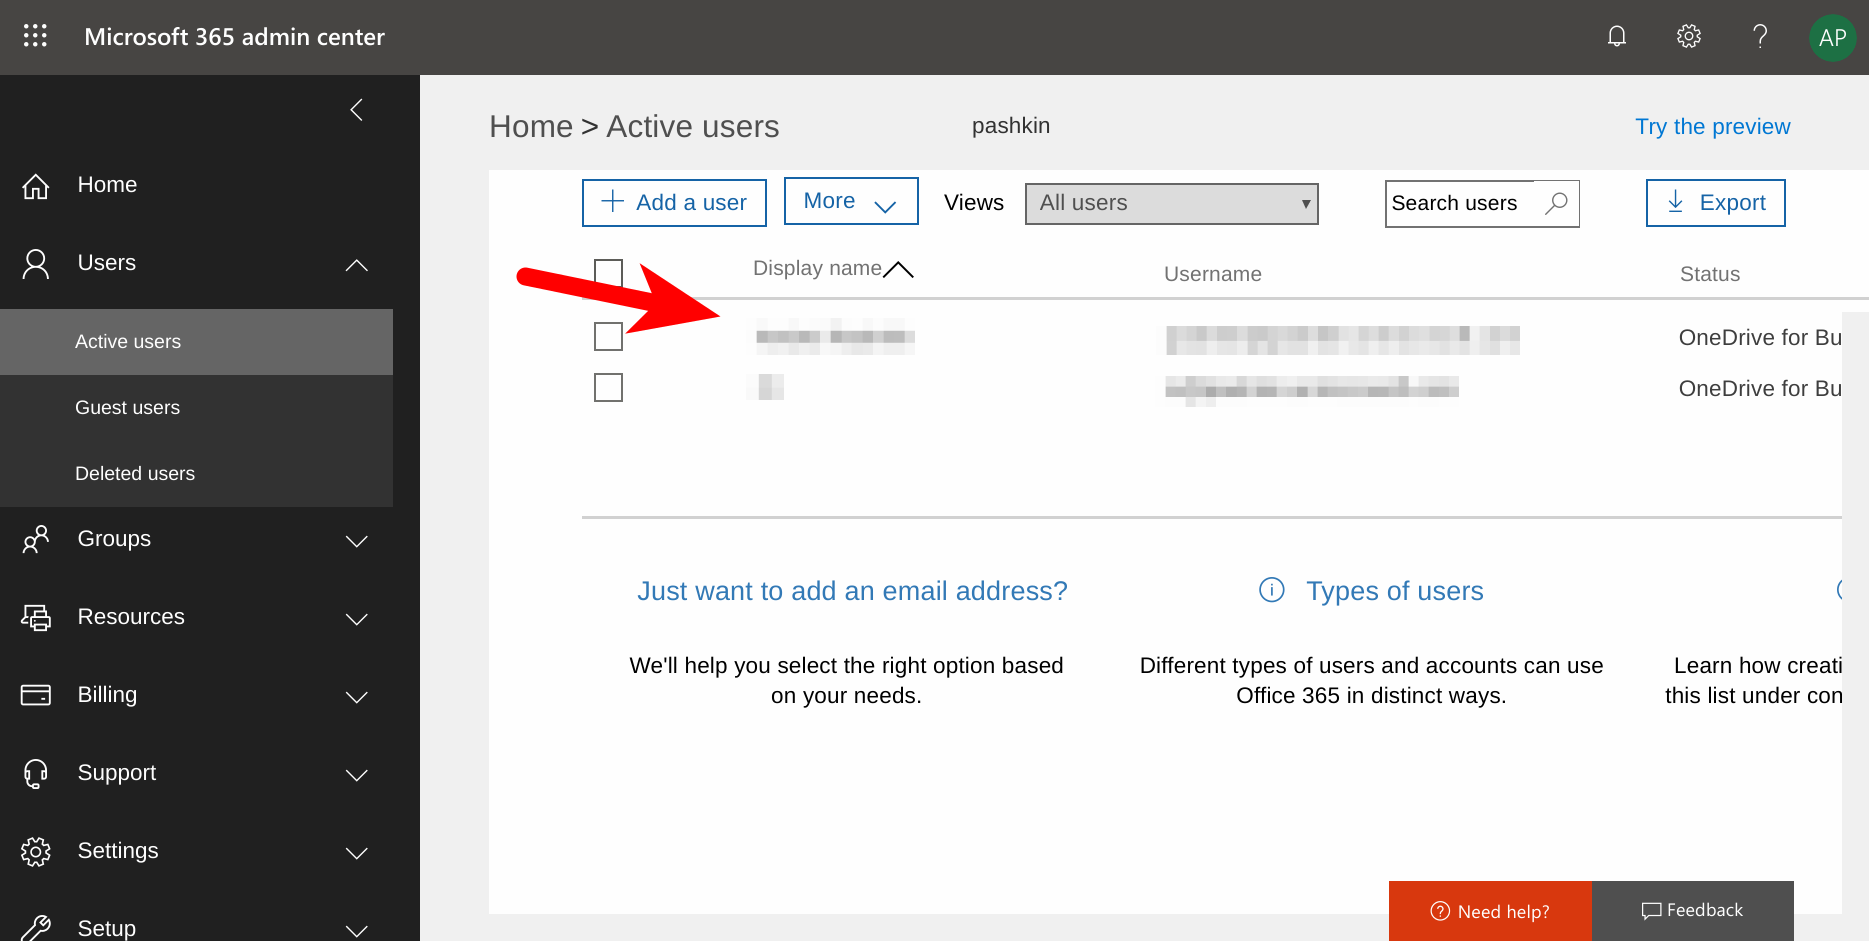
Then click on “Active users”.
Find user, that you want to use for accessing OneDrive and click on it.
Tip
You can setup a user with guest-status so that the application won’t have admin-access to your Office 365.
Click on “Edit” button in the “Product licenses” row.
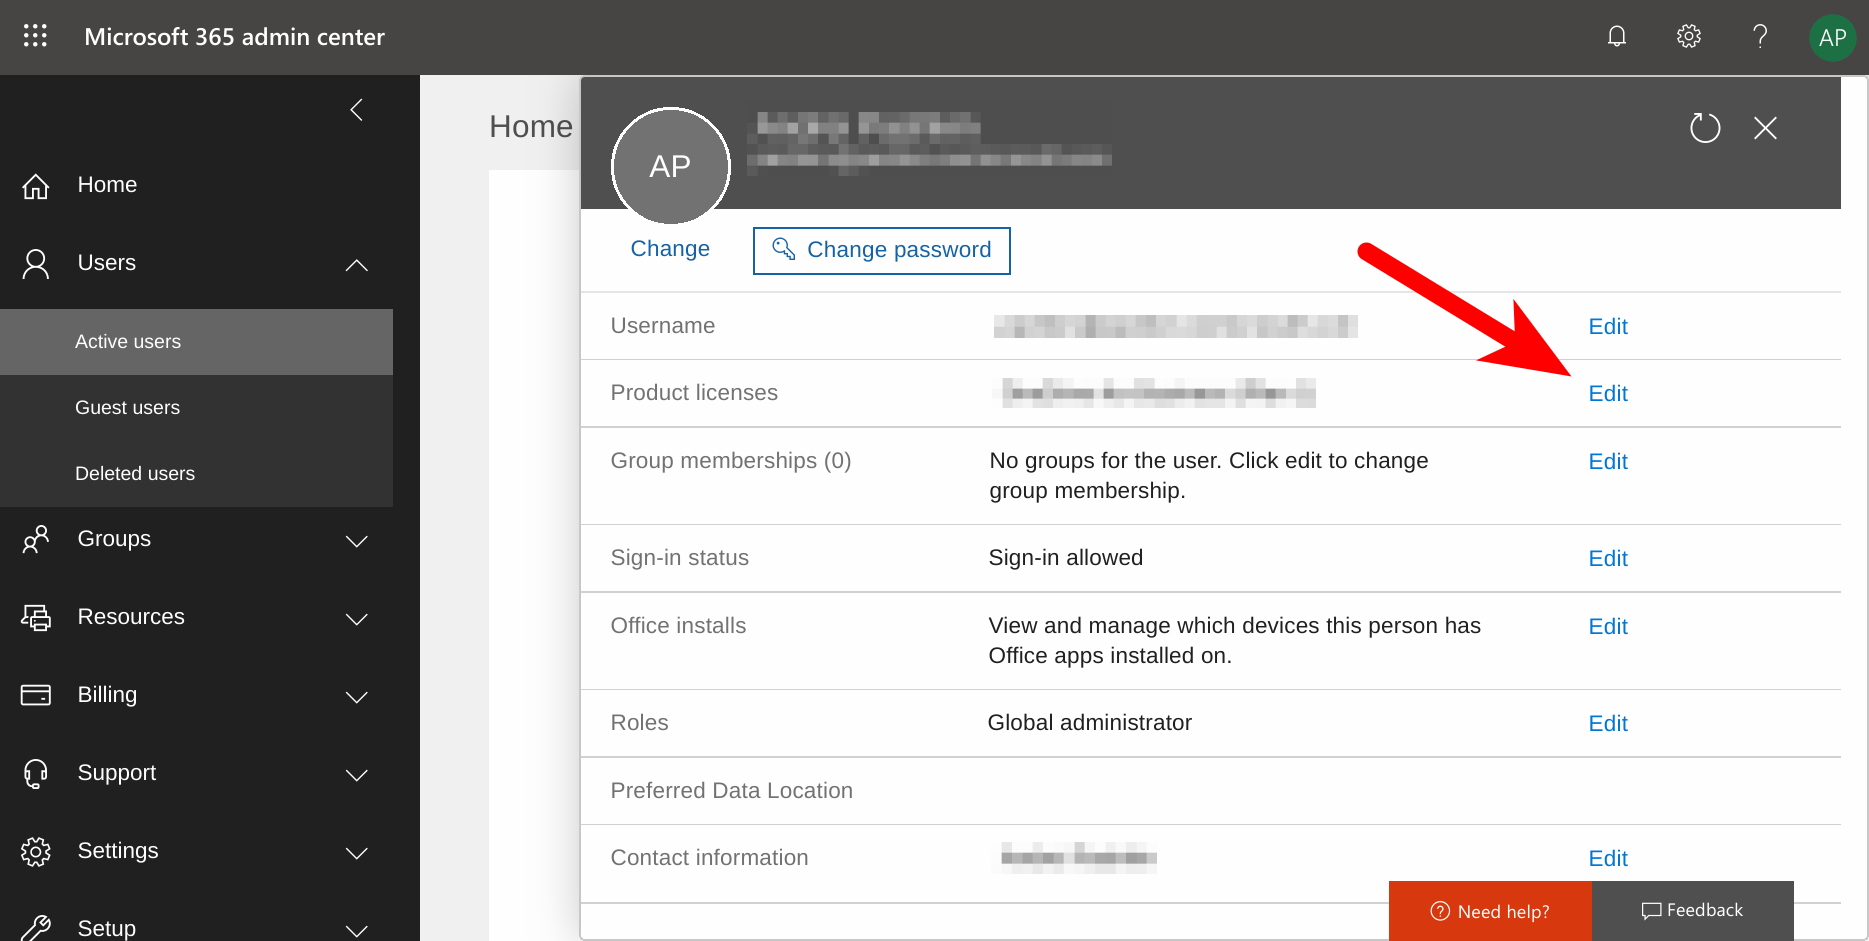
Ensure the license is turned on for the user.

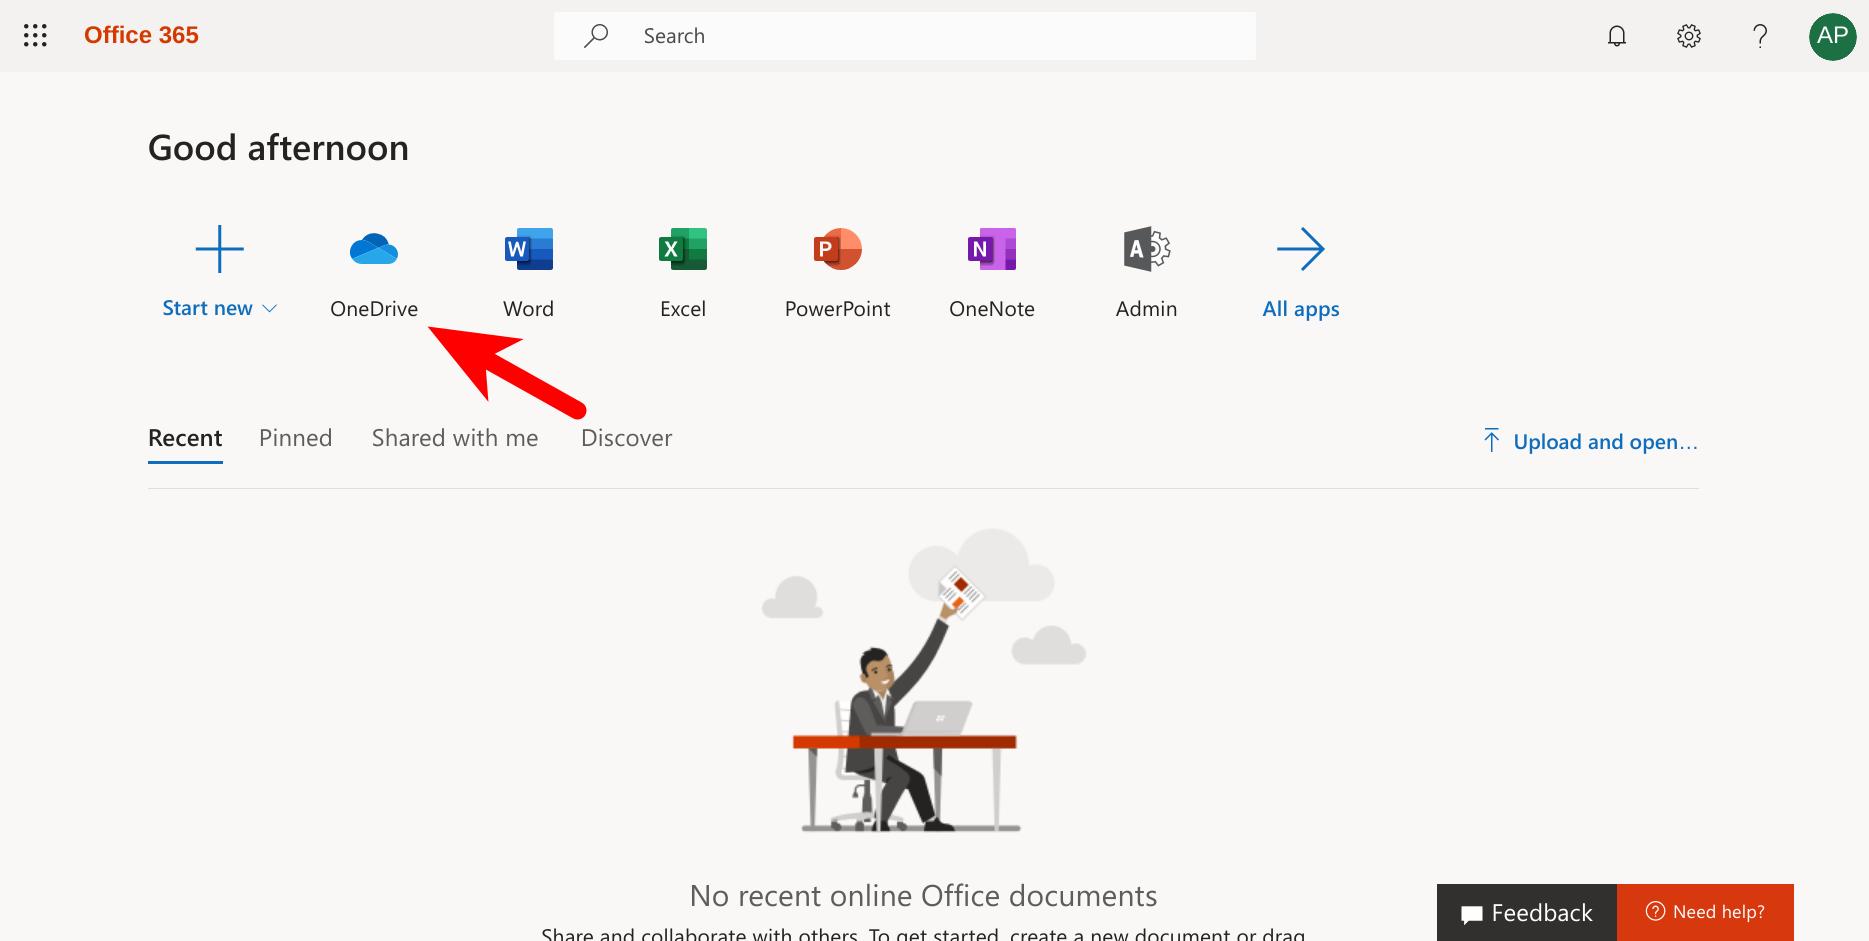
Open the home page of Office 365 as the picked user and click on OneDrive application button (sometimes it might be required to force Office 365 to provision it).
Then, as an admin user, go to the home page and click on “Admin” button again as in step 1..
Click on “Azure Active Directory”.
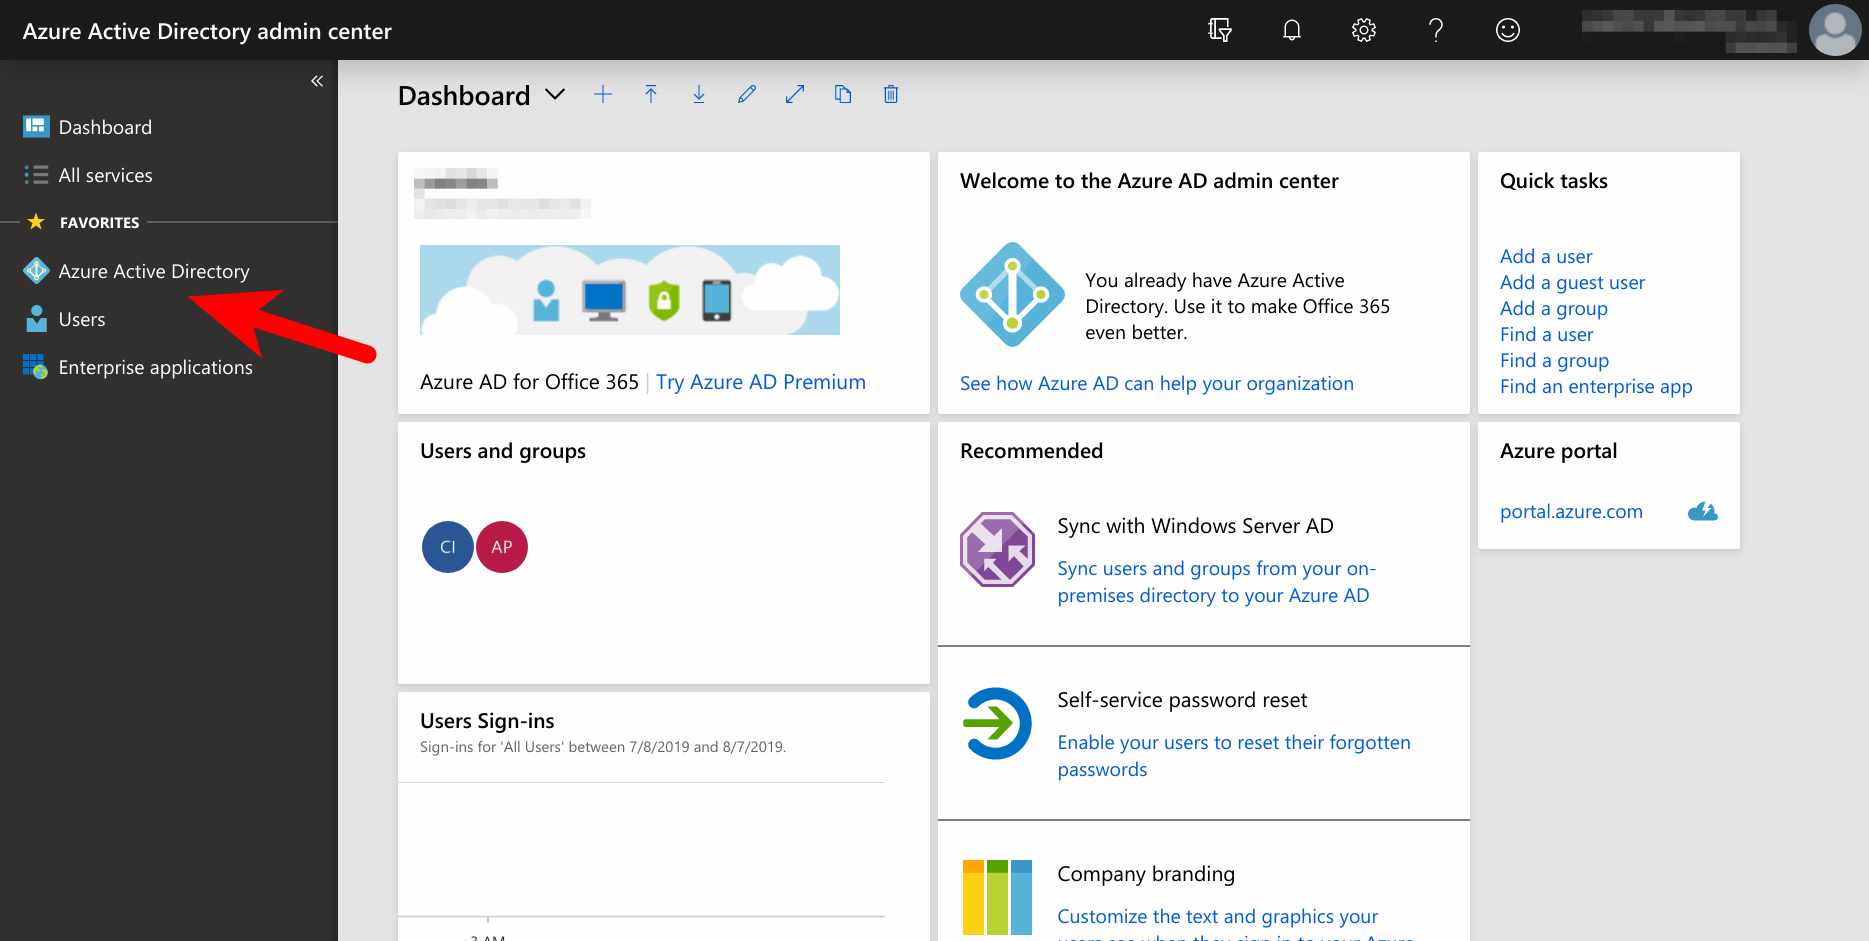
On the newly opened page click on “Azure Active Directory”.
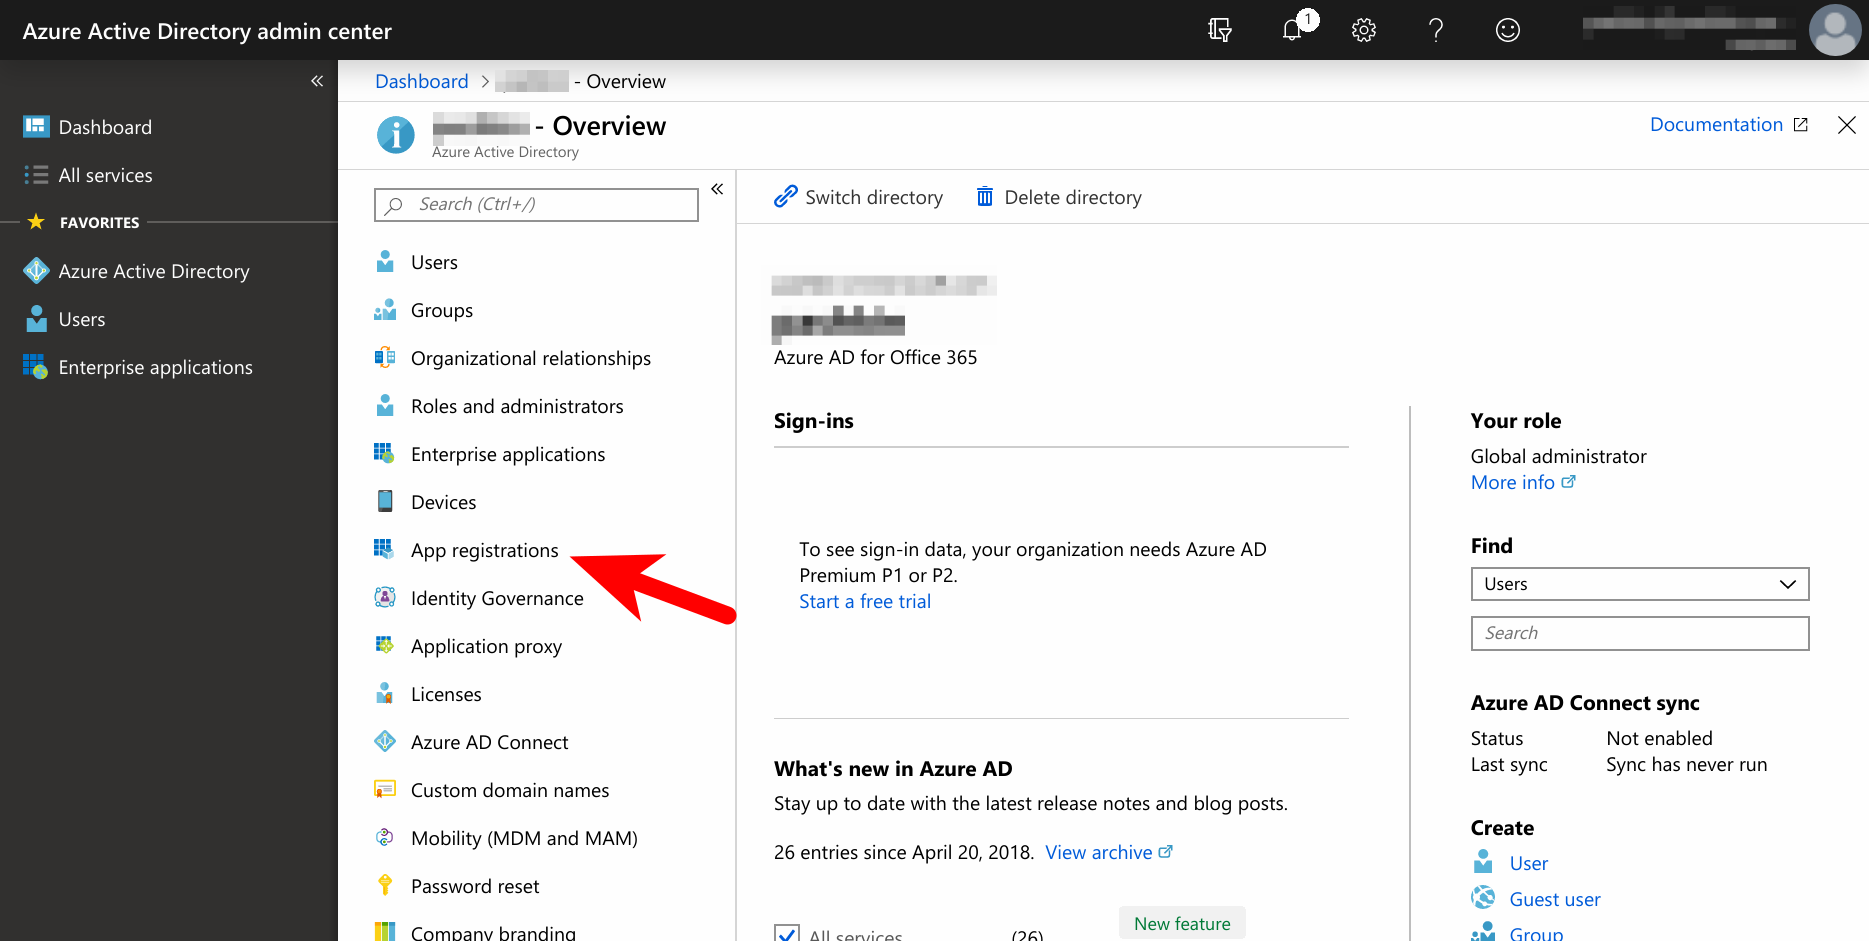
Click on “App registrations”.
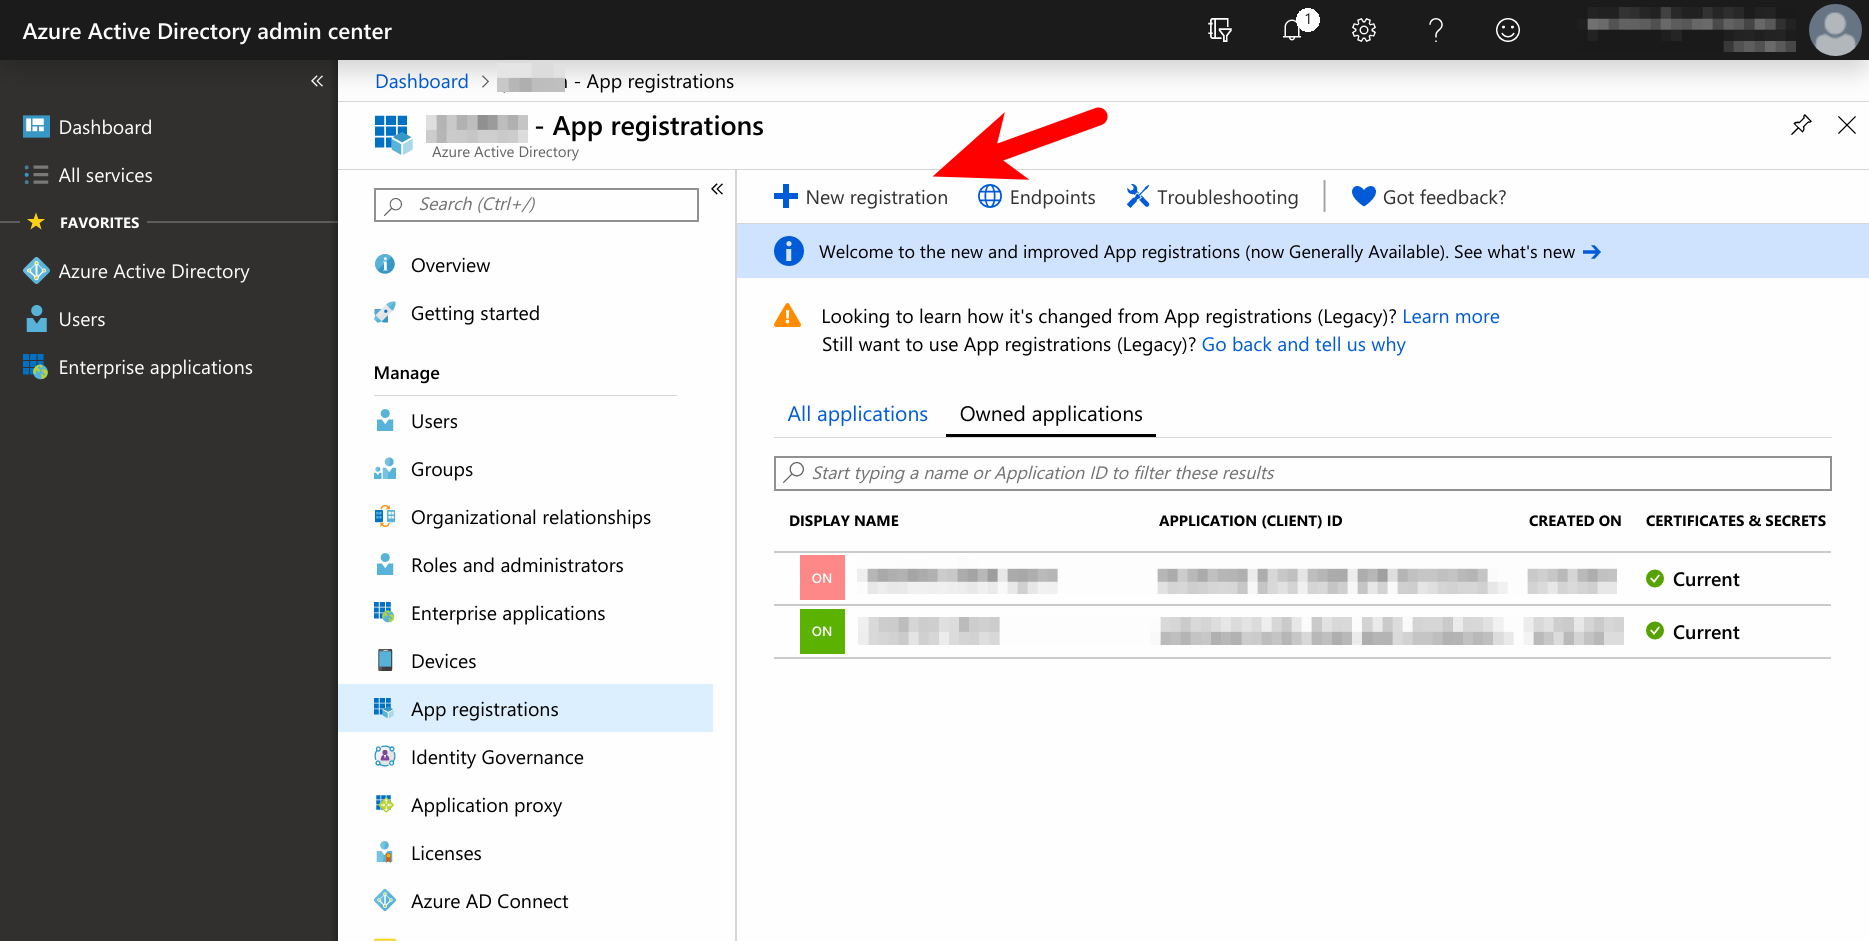
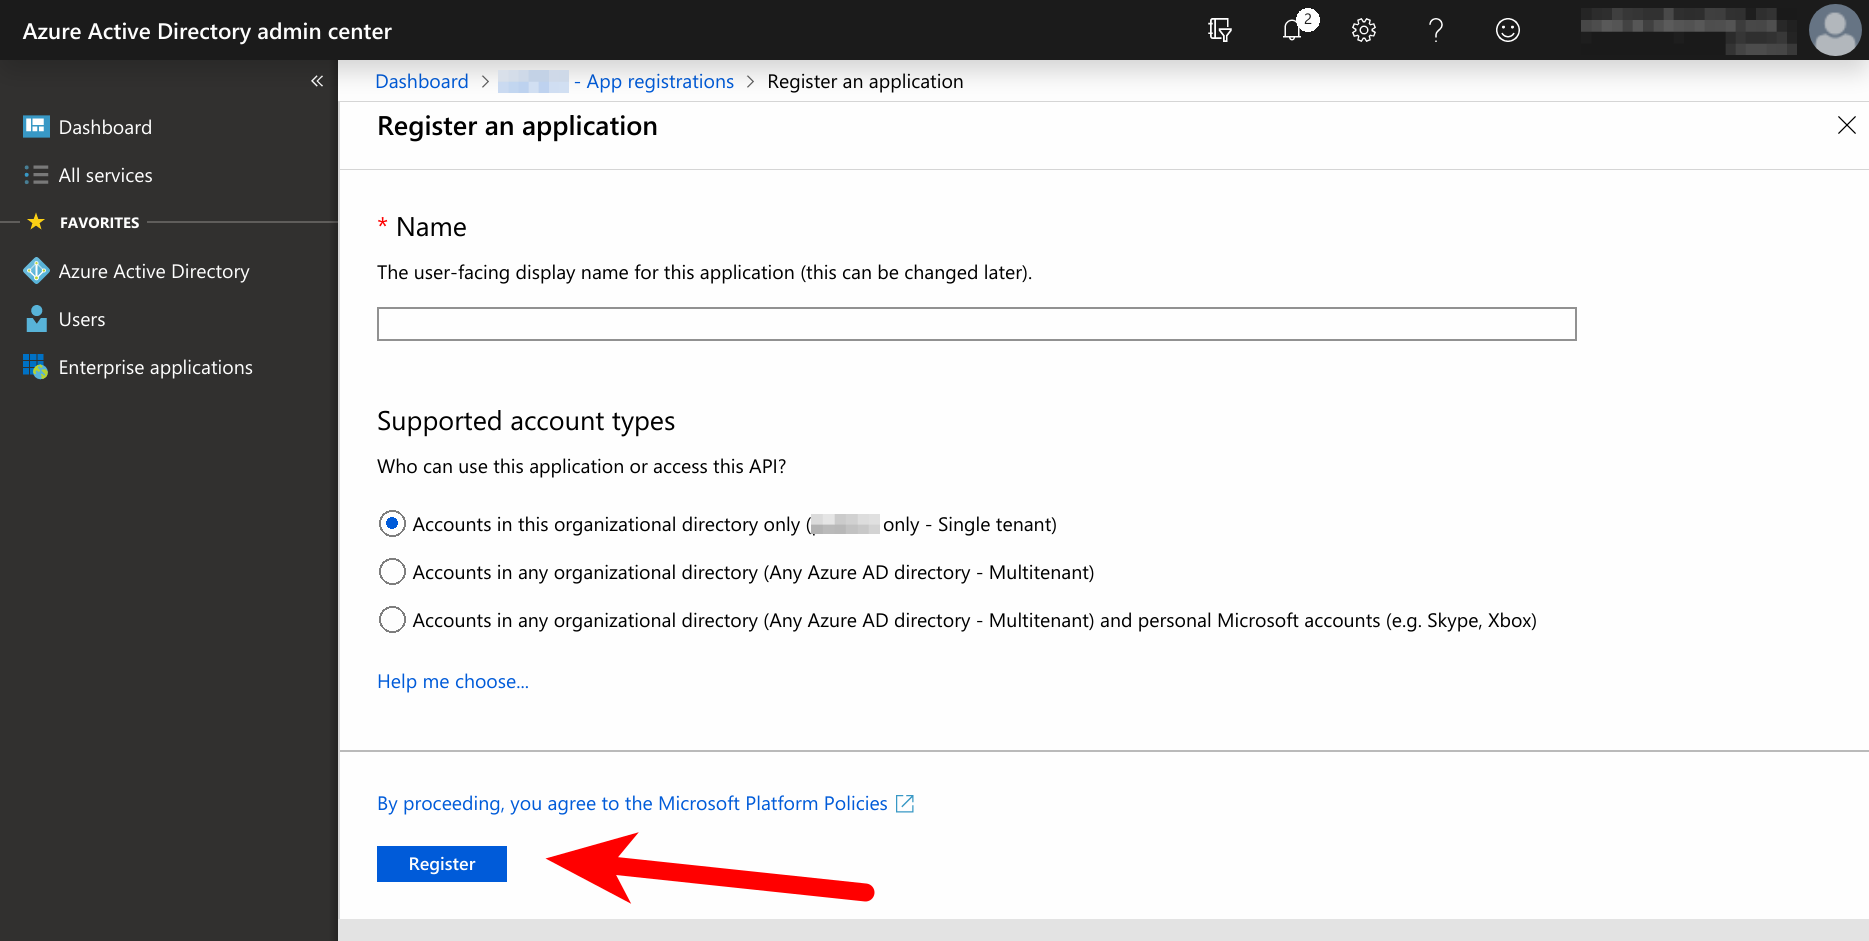
Click on “New registration”.
Fill all the necessary fields:
- Name - could be arbitrary.
- Supported account types - choose according to your needs. You can click on “Help me choose…” to get some guiding information.
- Redirect URI (optional) - put something like
http://localhost:8080and remember the value.
and then click on “Register”.
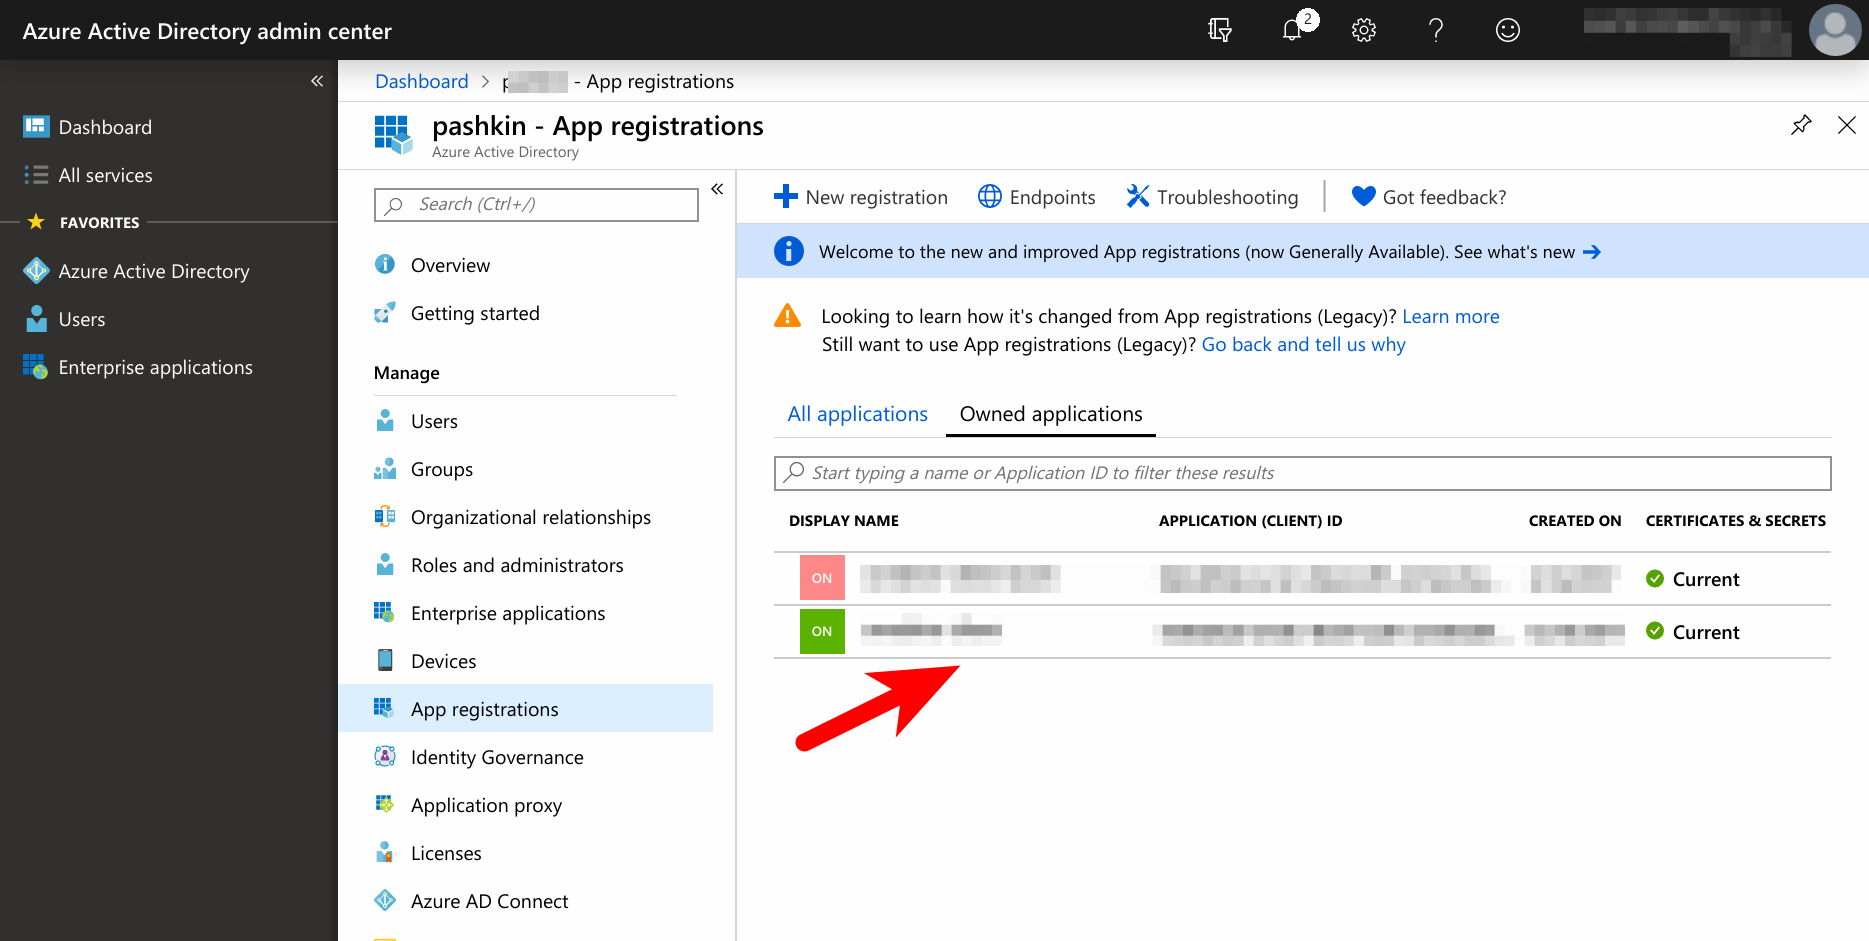
In the opened list of registered applications click on the one that was just created.
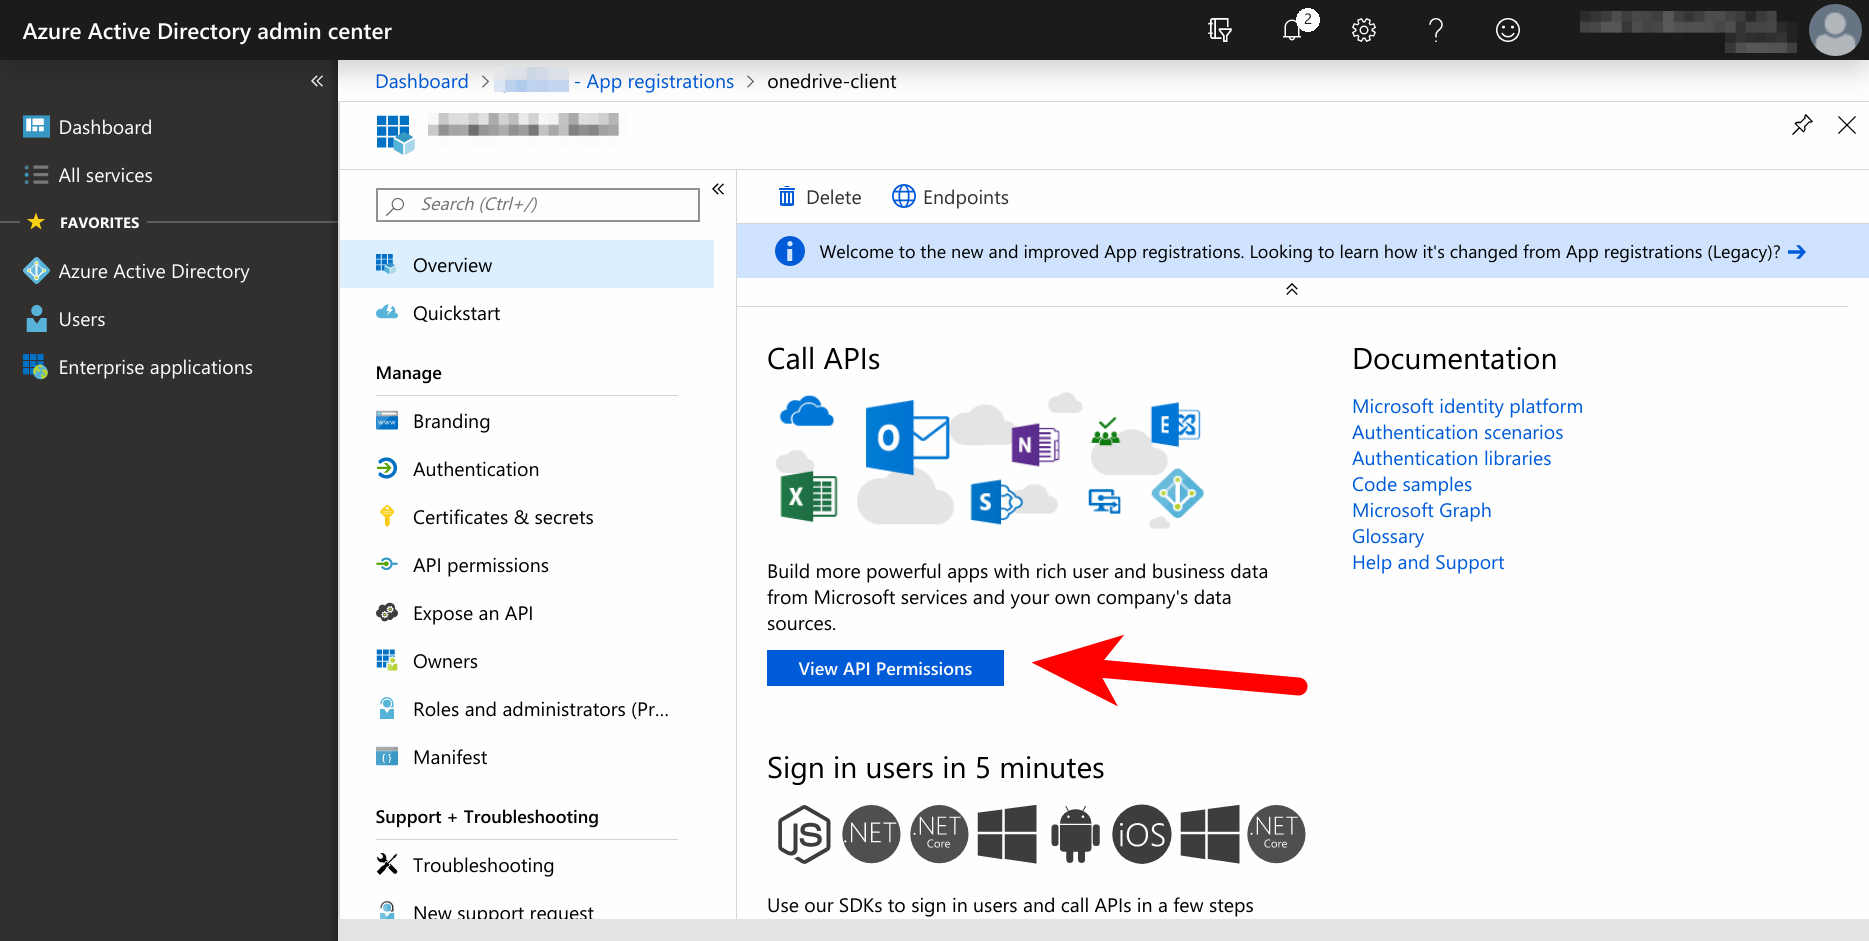
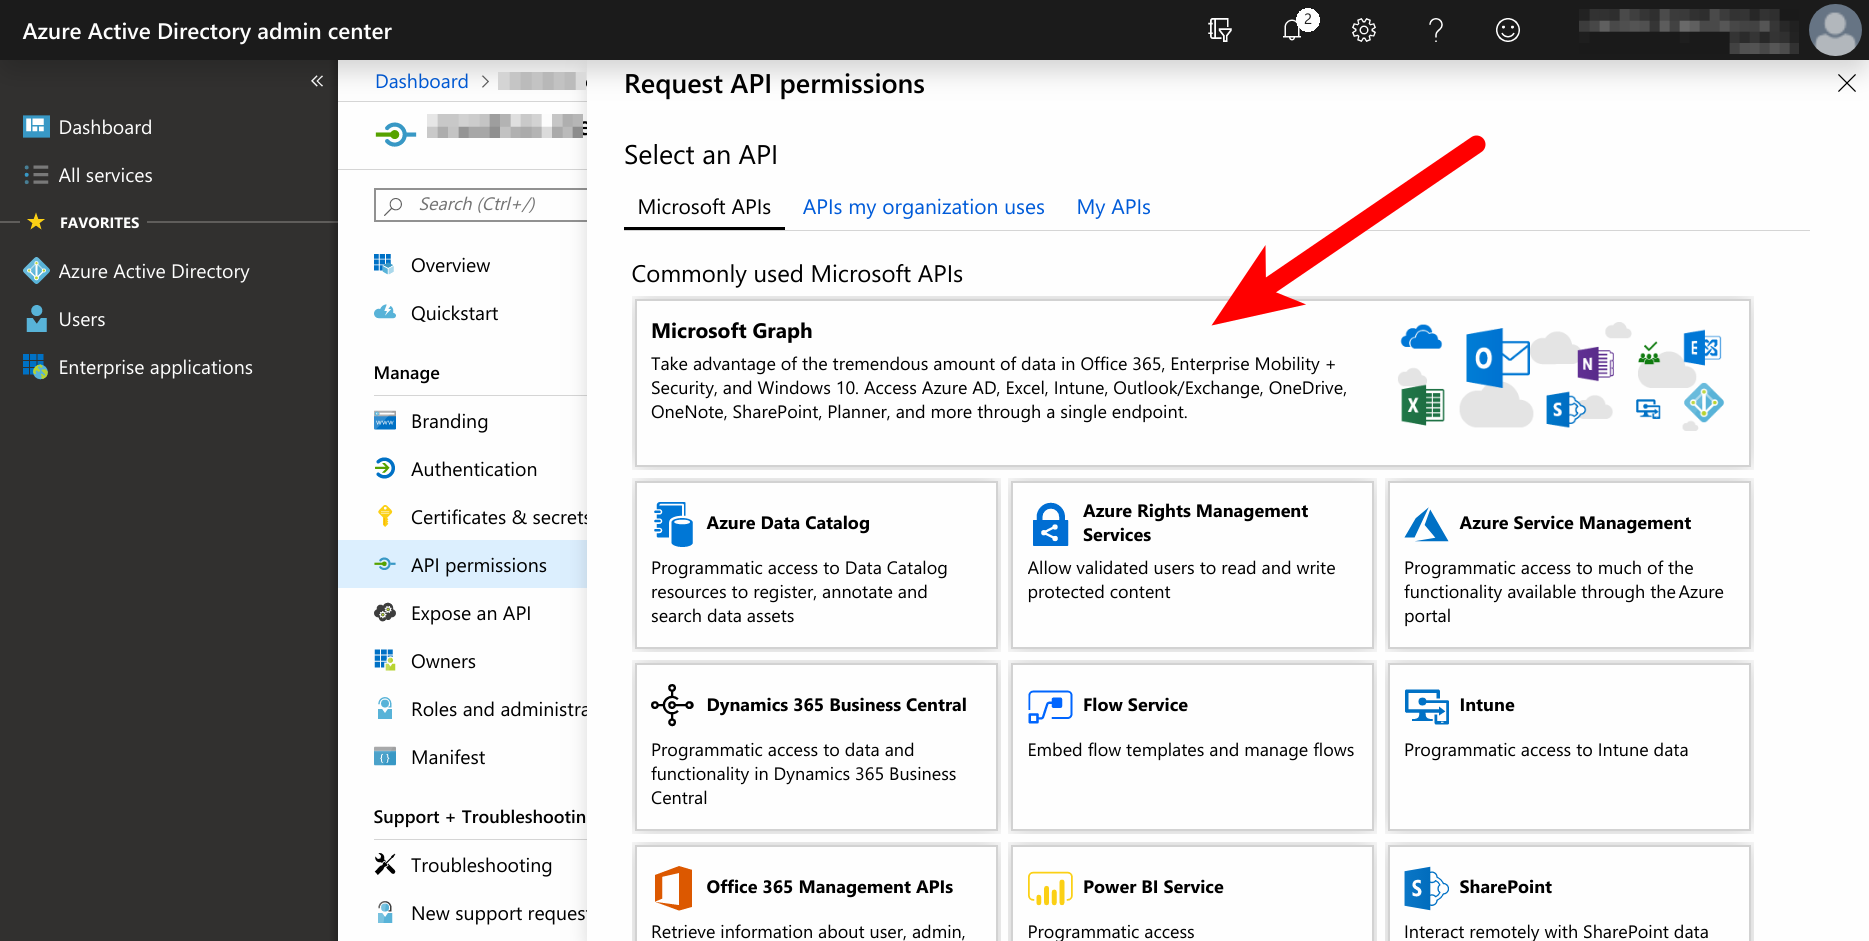
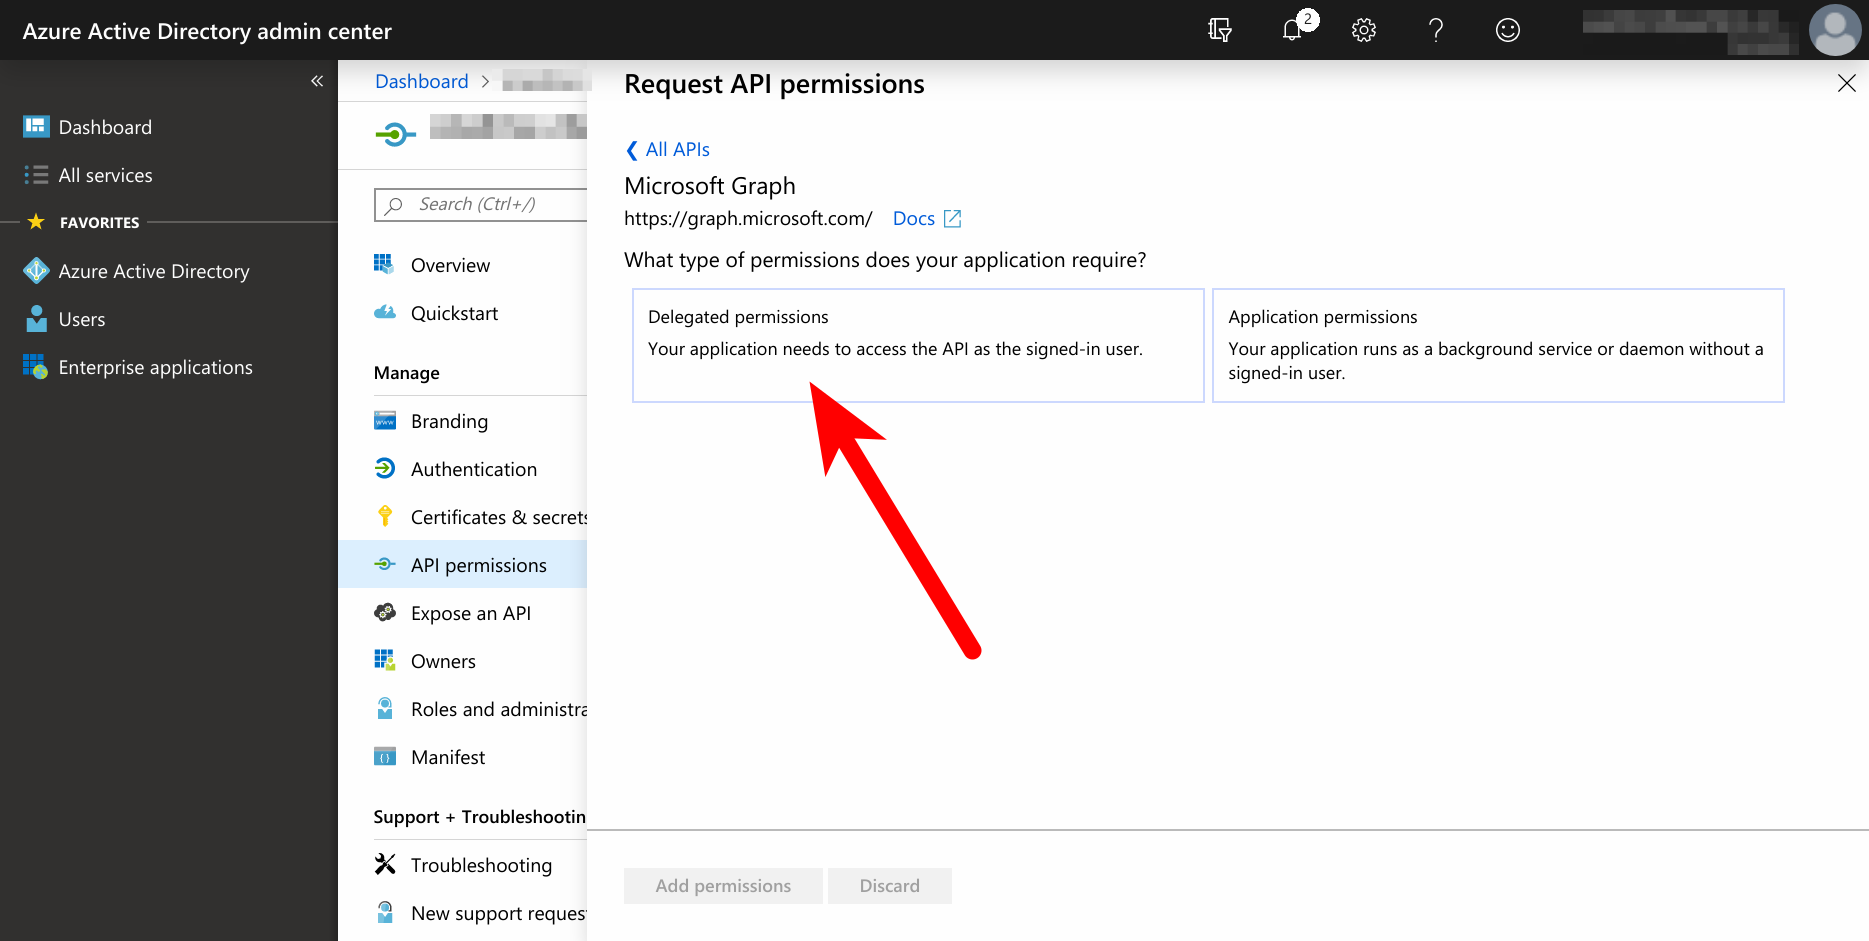
Click on “View API permissions” then on “Add a permission” then on “Microsoft Graph” then on “Delegated permissions”.
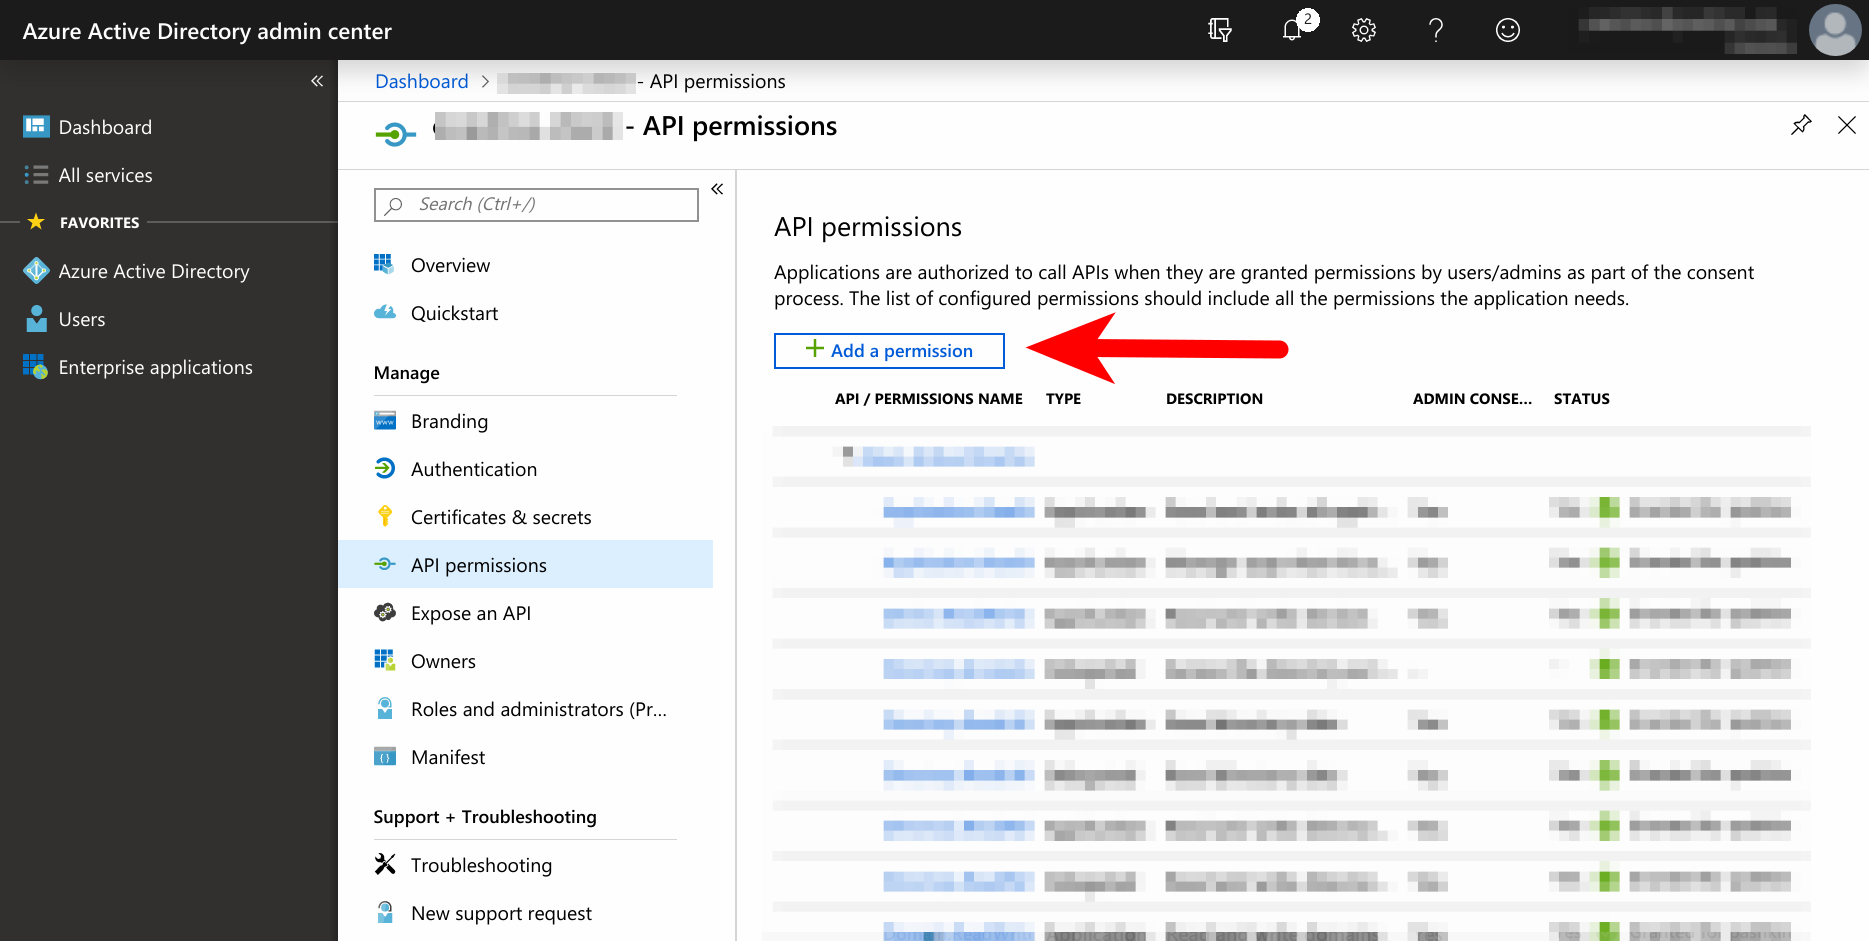
Find and check
"``Files.ReadWrite.All”`` permission or another permission that grants level of access to the files according to your needs. Then click on “Add permissions”.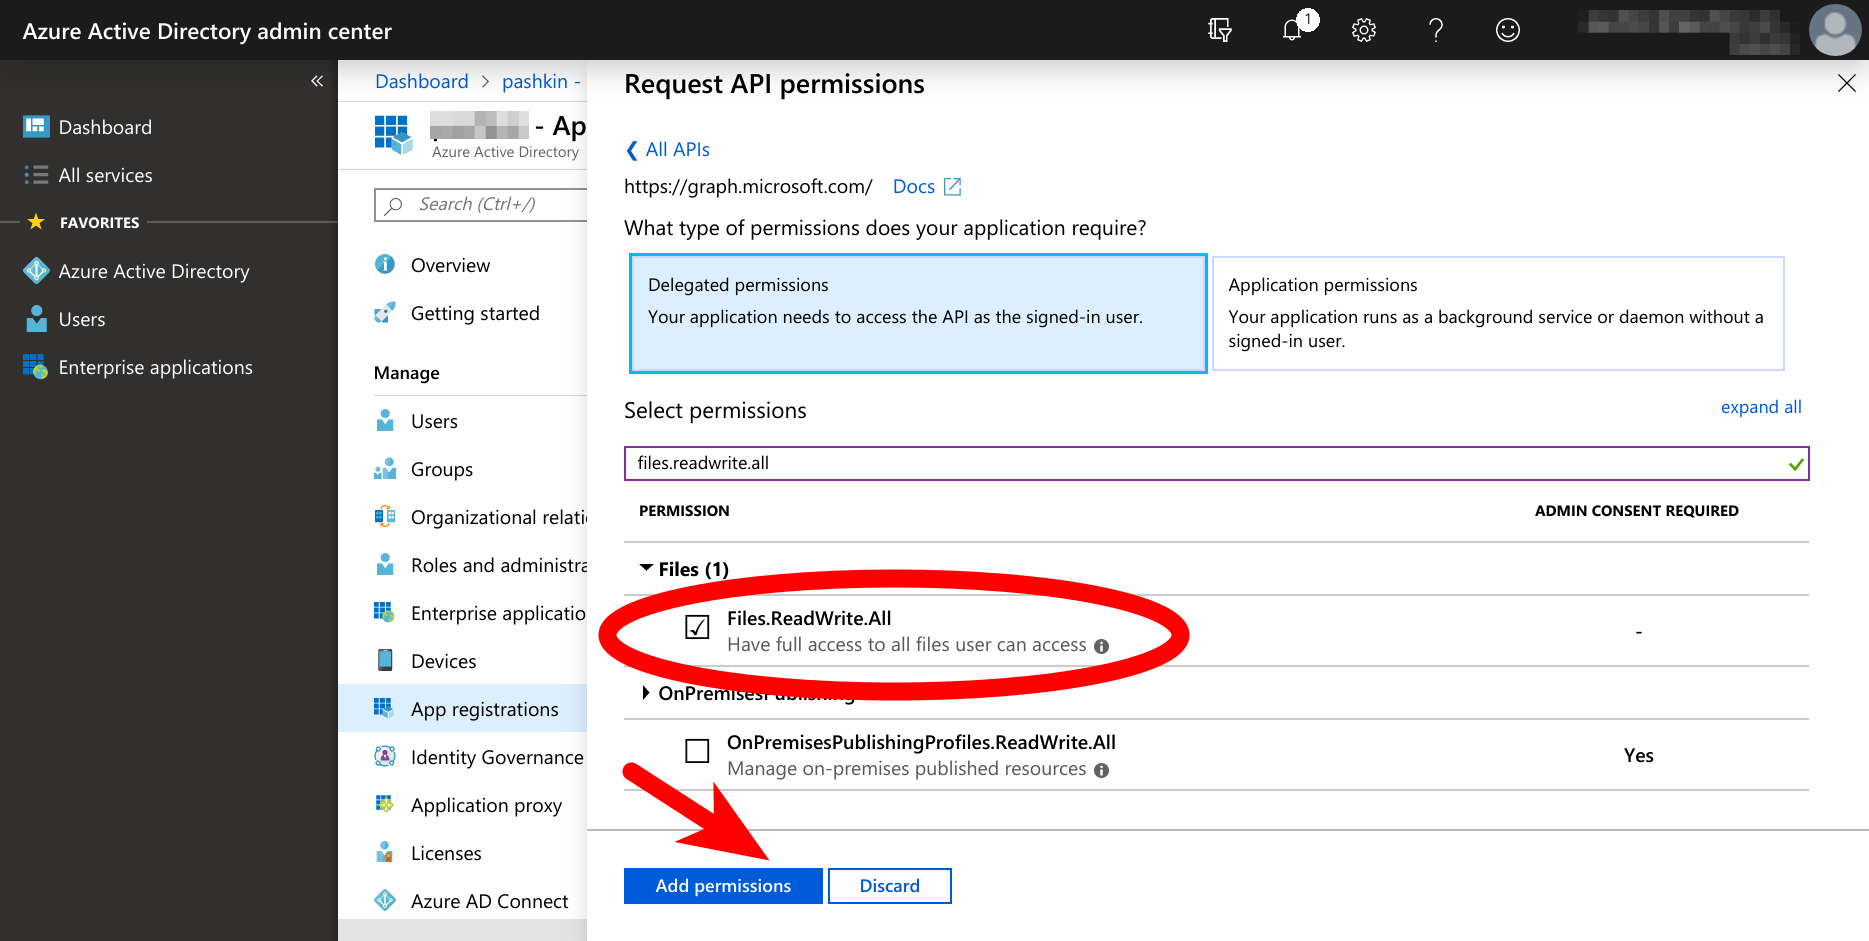
Tip
Check out the permissions reference: https://developer.microsoft.com/graph/docs/concepts/ permissions_reference
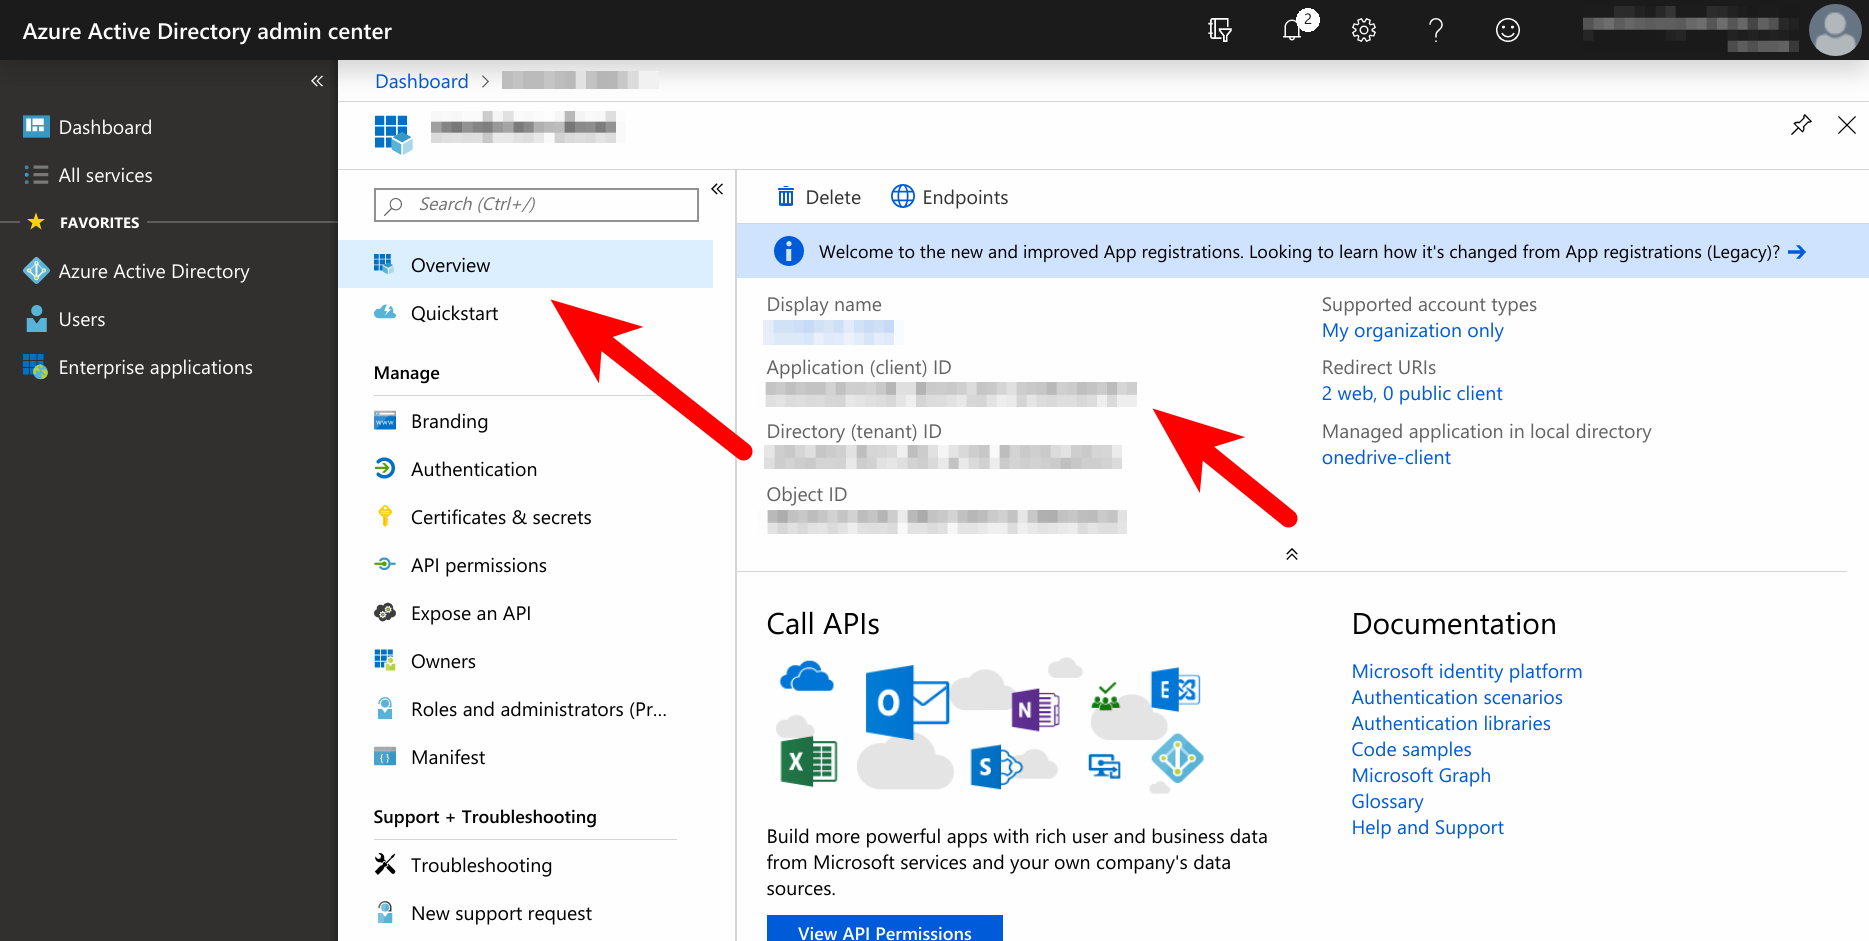
Return to the application page as in step 13. and click on “Overview”. Find “Application (client) ID” field and remember the value.
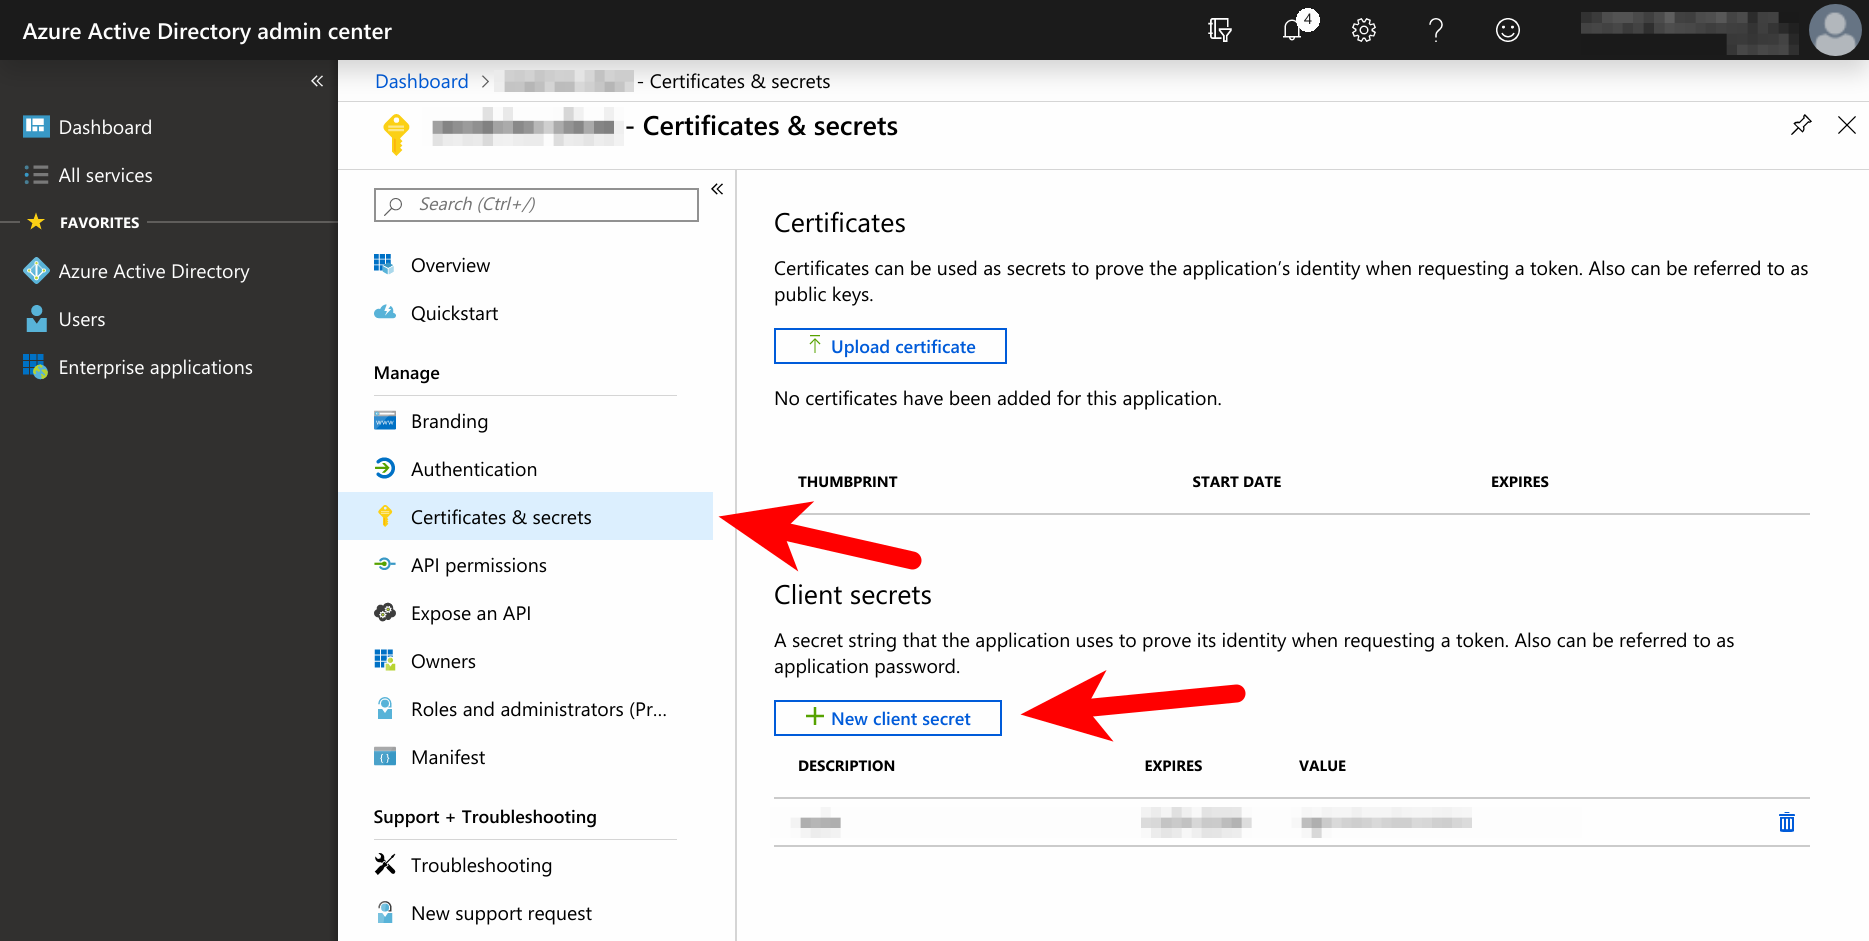
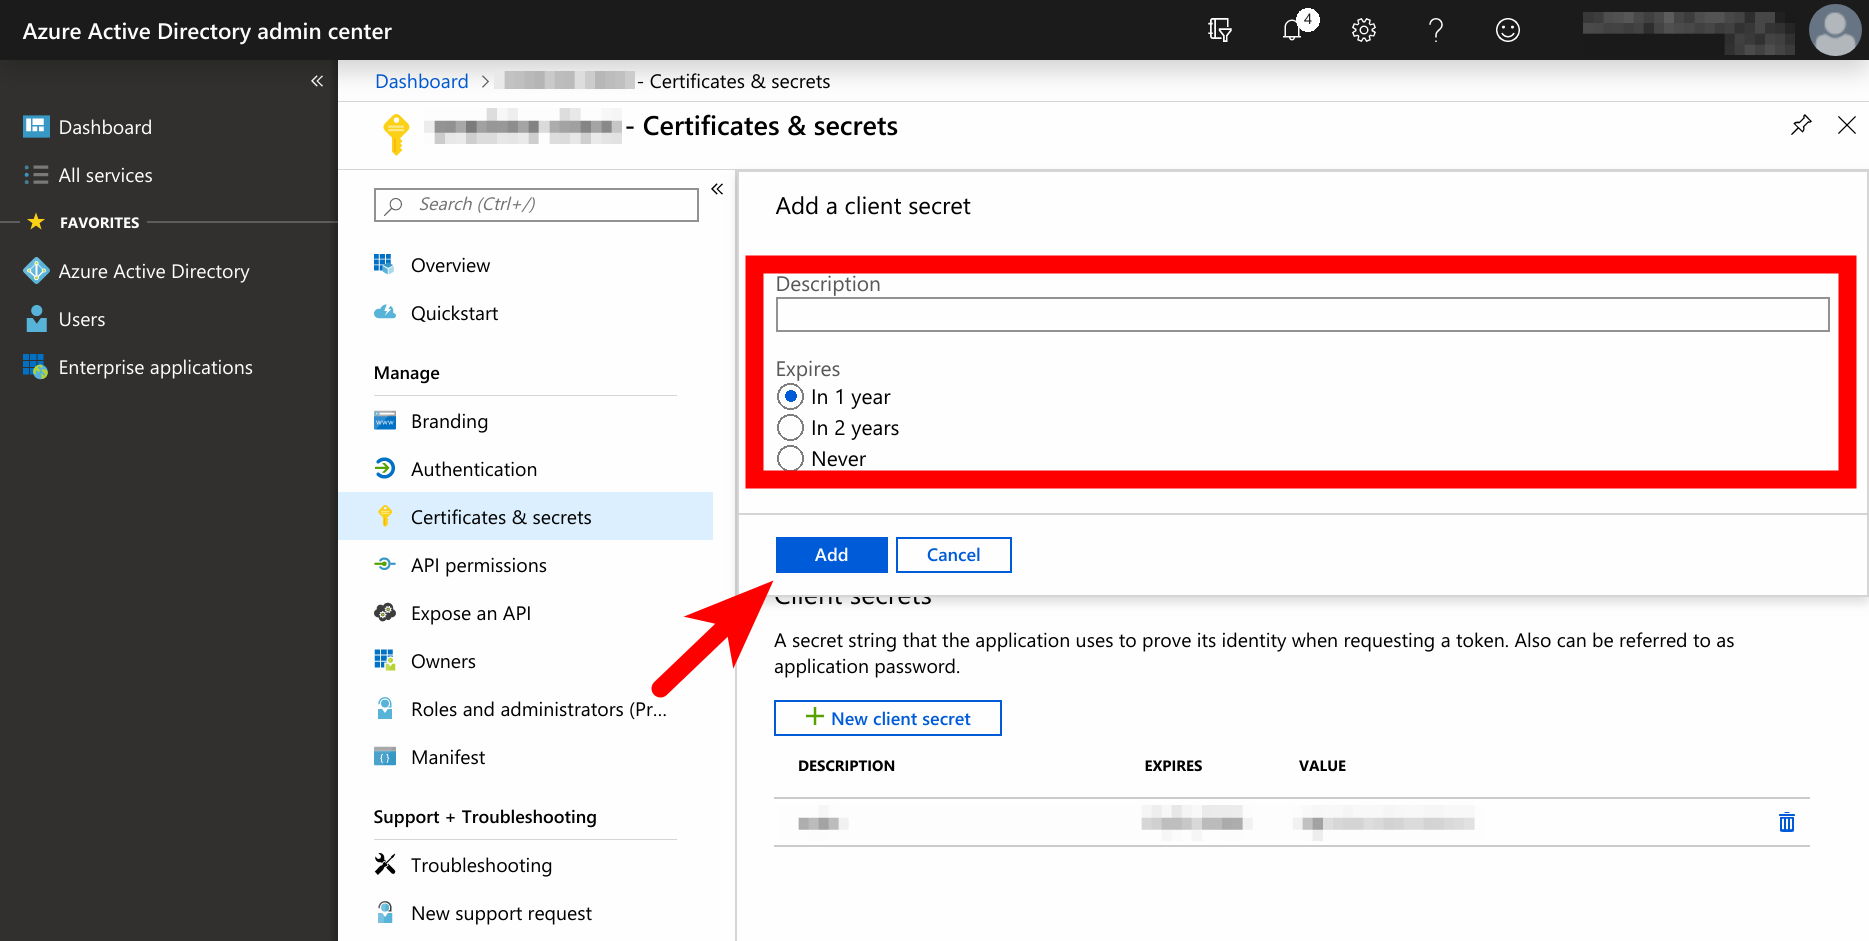
Click on “Certificates & secrets” and then click on “New client secret”. Then fill the description (could be arbitrary) and choose expiration interval. Then click “Add”.
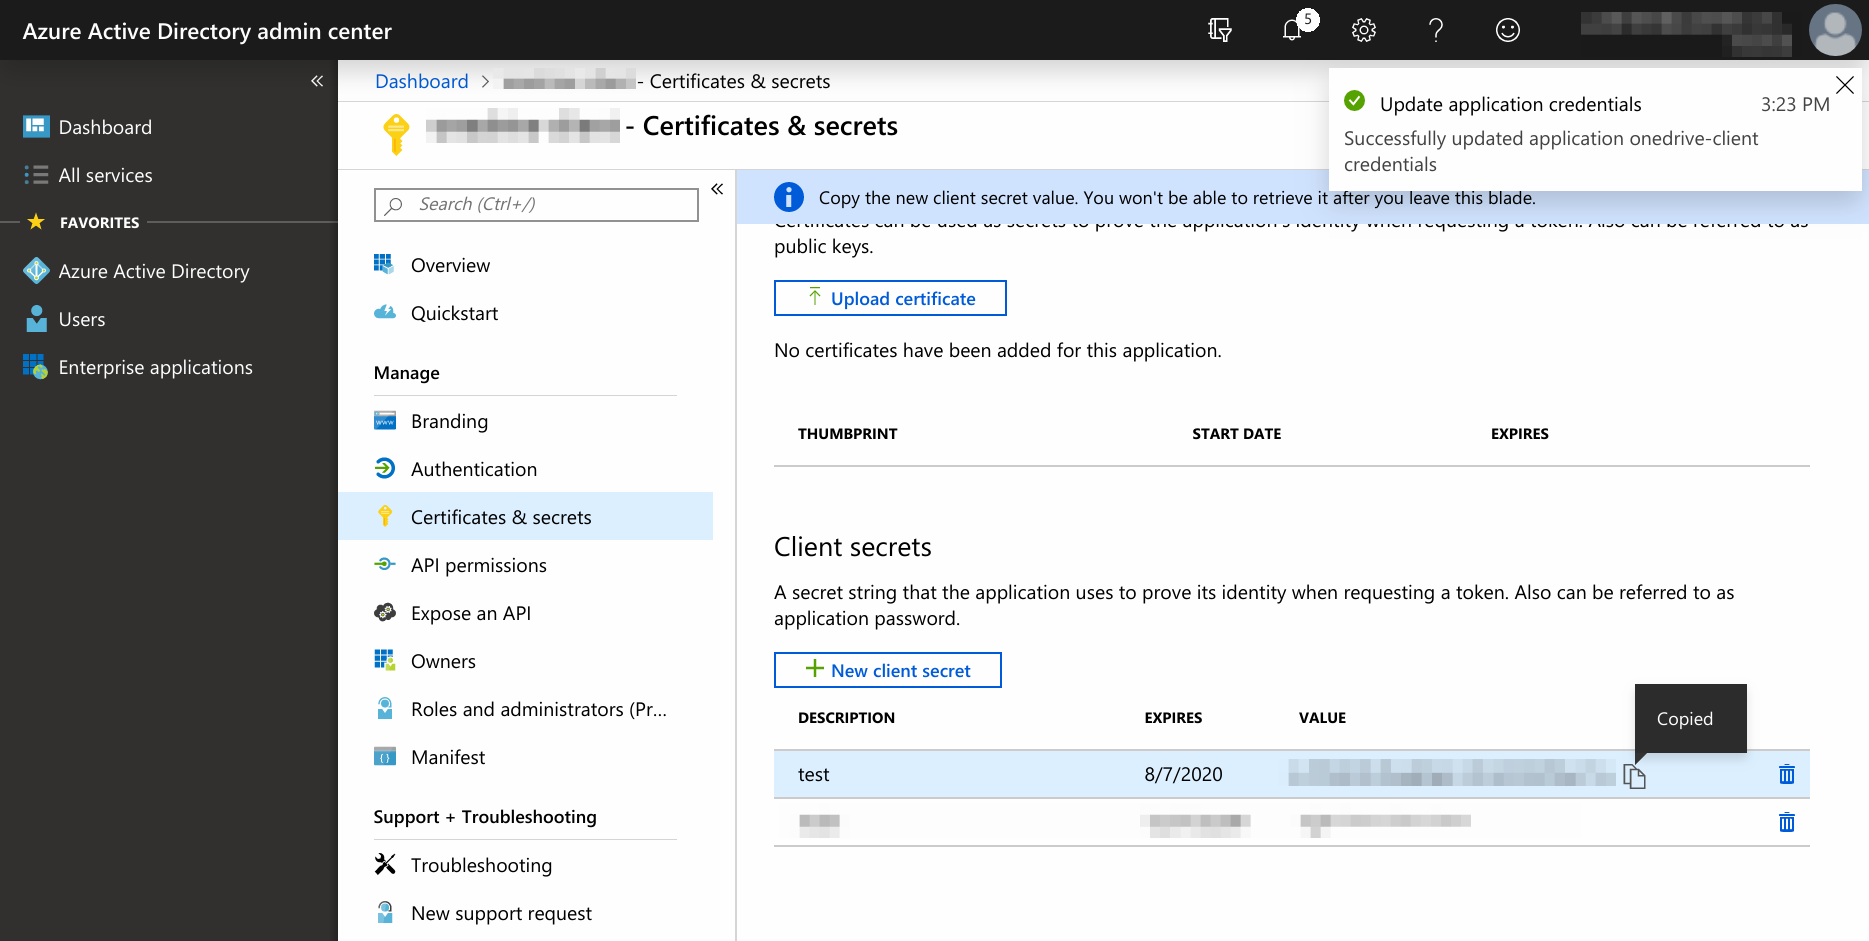
Copy the value of the newly created secret and save it somewhere.
Installation
Currently the application is only installable as a standard Python package. Just clone the repository and install it using Pip:
git clone https://github.com/AndreiPashkin/onedrive_client.git
pip install onedrive_client
Authentication
Application requires a cookie to authenticate in Office 365. Go to
https://login.microsoftonline.com/, login with the credentials you want the
application to use and then collect the cookie value for
login.microsoftonline.com domain. It could be done using a debugging proxy
like Fiddler.
Configuration
Here is an example configuration file:
client_id: <Client ID (see :ref:`step 16 <.. _step-16>`)>
client_secret: <Client secret (see :ref:`step 18 <.. _step-18>`)>
redirect_uri: <Redirect URI (see :ref:`step 12 <.. _step-12>`)>
cookie: <Cookie value (see `Authentication`_)>
system_directory: <A directory where you want the app to store data and
                   other internally used files.>
mount_directory: /home/andrei/projects/onedrive/mount
log_level: <Accepted values are: CRITICAL, ERROR, WARNING, NOTICE, INFO,
            DEBUG, TRACE. Pick "INFO" if not sure.>
Using application
To launch the application simply use a command like this:
onedrive -c <Path to the config. file> start
Path to the configuration file could be relative to the current working directory or absolute.